What I love about No-Bake Rocky Road Bars
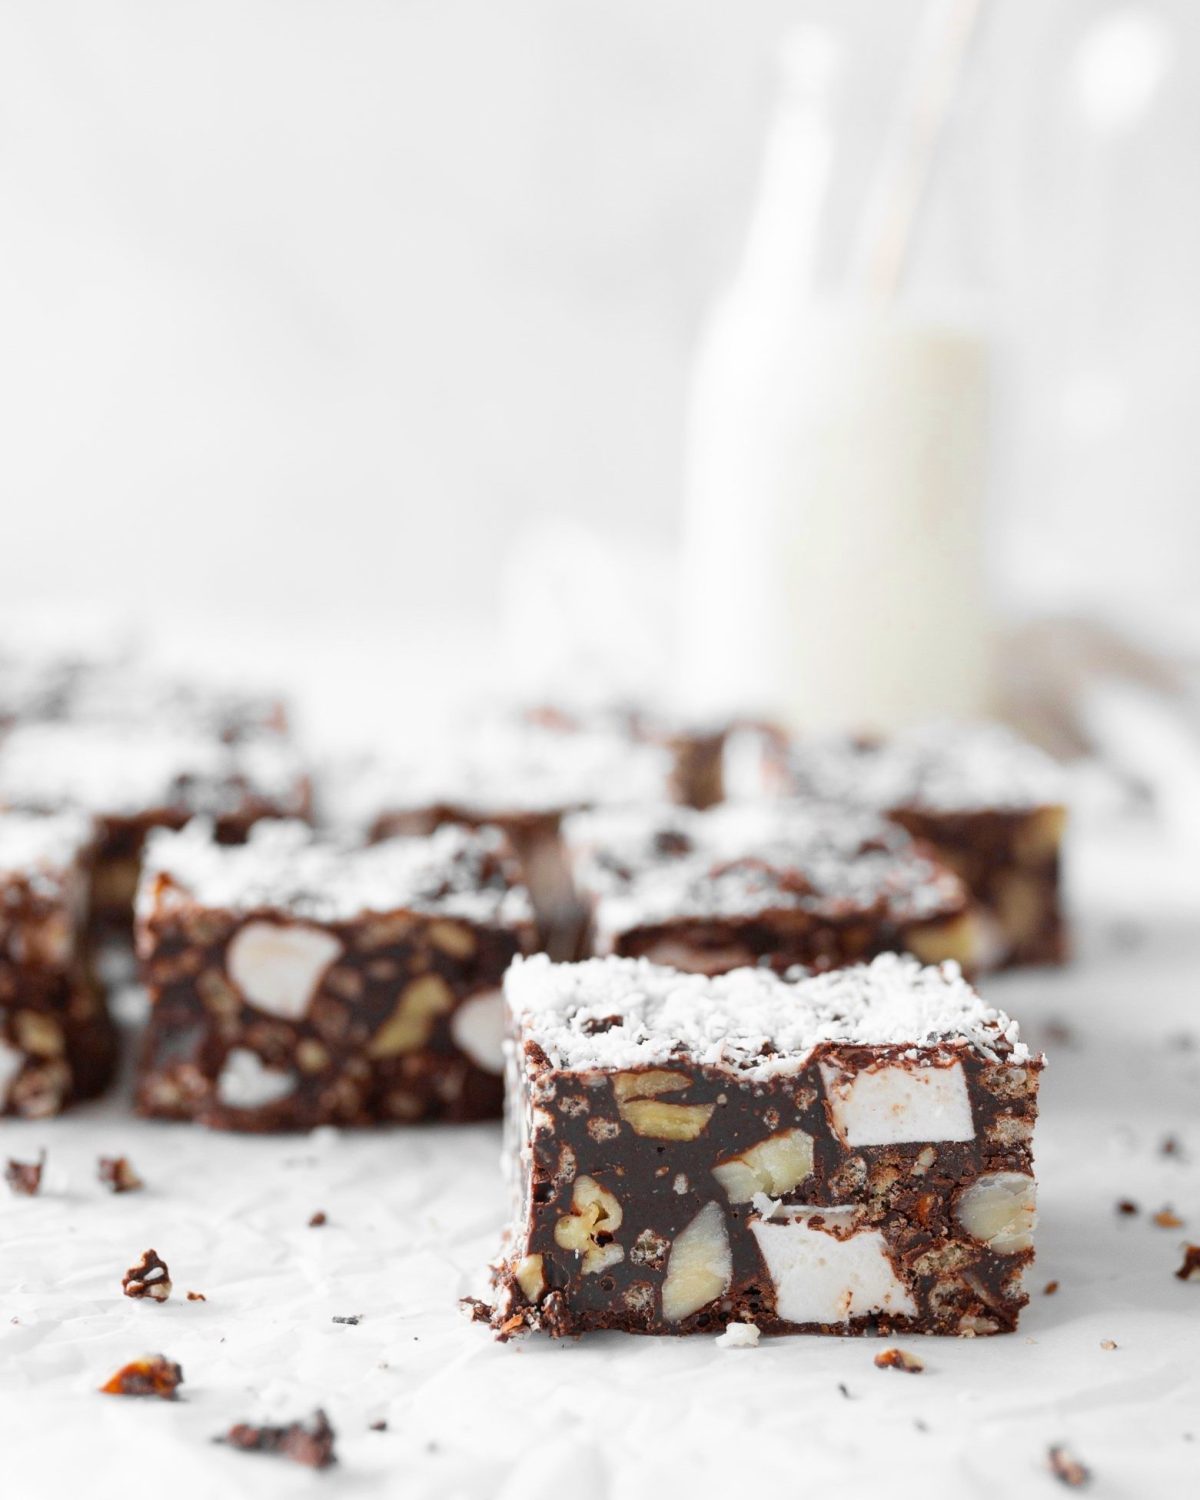
These gluten-free No-Bake Rocky Road Bars have quickly become a new favorite of mine—and for good reason. They’re rich and chocolatey, packed with crunchy nuts, and offer just the right amount of texture in every bite. It’s the kind of treat you’ll want to keep stocked in the fridge.
It’s the perfect recipe for those moments when you’re craving a quick, satisfying dessert. And with the chocolate base turning almost fudge-like, you don’t need much to be satisfied! Still, you’ll want to stash these way in the back of the fridge away from anyone who might make them disappear!
Even better, they couldn’t be easier to make. Everything comes together in a single pot—no oven required and very little dishes to do! The hardest part is waiting for them to set up.
Once the mixture is ready, you simply press it into the prepared pan and let it set in the fridge. After chilling, they slice effortlessly into neat squares that are ready to enjoy right away or be stored in the fridge for future use. Honestly, they’re hard to resist in the moment!
Recipe Notes
A few things to keep in mind:
- Chocolate – I recommend using semi-sweet or dark, chopped melting chocolate wafers or chocolate chips for this recipe. You can use whatever type/brand you prefer. I like to use sugar-free chocolate chips to keep them a little more guilt-free.
- Peanut butter – The peanut butter adds to the flavour and texture of the rocky road bars. I like to use smooth, natural peanut butter for this recipe, but more processed peanut butters would work as well. You could even use crunchy peanut butter if you like a little more crunch!
- Nuts – I used a mix of chopped pecans and macadamia nuts for these bars. I love the flavour of these two types of nuts. I think they go really well with all of the other ingredients. You could also use chopped walnuts if you like.
- Mini marshmallows – You can’t have a rocky road bars without mini marshmallows! Pop them in the freezer for about 30 minutes. This helps them firm up before you start making the bars. This prevents them from melting when they are added to the warm chocolate mixture.
- Crispy rice cereal – The crispy rice cereal adds yet another element of crunch to these bars. They are the perfect add-in for a rocky road dessert bar.
- Coconut – I use unsweetened desiccated coconut for sprinkling on top of the bars. You could use sweetened if you prefer. Alternatively, you could use shredded coconut. It is a bit more textured and chewy. I prefer a more subtle addition of coconut.
FAQ
I love macadamia nuts and pecans, but walnuts or peanuts would work as well!
Yes, but they won’t turn out quite the same as these ones. If you want to make them nut free, try sunflower butter instead of peanut butter. For the add-ins, you can use sunflower seeds and pumpkin seeds instead of nuts or just add more crispy rice cereal and marshmallows.
Store the cut bars in an airtight container in the fridge. They will last for days! If you want to freeze them, they’ll last even longer.


No Bake Rocky Road Bars
Equipment
- 1 Medium-sized Saucepan
- 1 8" x 8" Square Pan
Ingredients
- 2 cups semi-sweet or dark chocolate chopped
- 1/2 cup smooth natural peanut butter
- 2 tbsp coconut oil
- 1/8 tsp sea salt
- 3/4 cup pecans chopped
- 1/2 cup macadamia nuts chopped
- 2 cups mini marshmallows frozen
- 3/4 cup crispy rice cereal
- 1/4 cup desiccated coconut
Instructions
- Line an 8"x8" pan with parchment paper and set aside.
- In a medium-sized pot, melt the chocolate, peanut butter and coconut oil over low-medium heat until smooth. Stir in a pinch of salt.
- Add the chopped pecans and macadamia nuts to the pot and stir to coat them.
- Pour in the crispy rice cereal and the frozen marshmallows and fold them in until everything is completely covered in chocolate.
- Spread the rocky road mixture into the prepared pan and flatten it with a spatula making sure that all of the corners are filled and the top is level.
- Sprinkle the top evenly with desiccated coconut.
- Cover the pan and transfer it to the fridge for 1 hour to set up.
- Remove the pan from the fridge and cut into 12 squares. Enjoy!
Leave a Reply