
Easy No Bake Rocky Road Bars (Gluten Free)

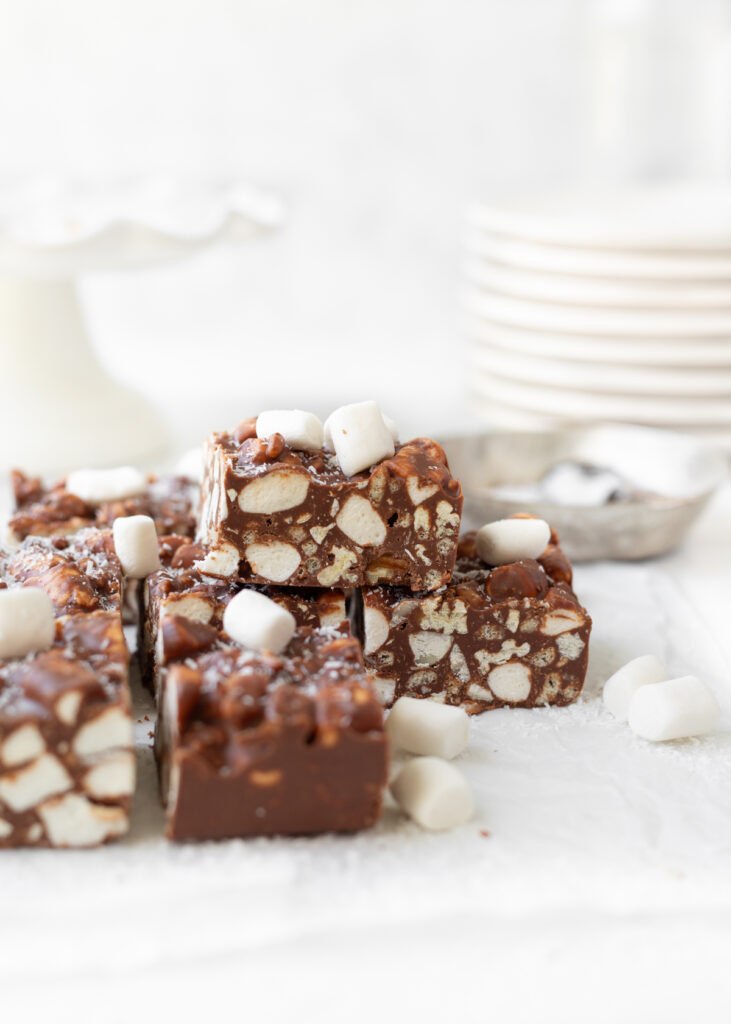
These No Bake Rocky Road Bars are an easy, decadent dessert made with chocolate, crunchy nuts, and fluffy marshmallows and crispy rice cereal in every bite. Naturally gluten-free, these no-bake chocolate bars come together quickly with simple ingredients for a crowd-pleasing treat. Perfect for holidays, parties, or anytime you’re craving a rich chocolate dessert without having to turn on the oven.
Why These Gluten Free Rocky Road Bars Are So Good
These gluten-free No-Bake Rocky Road Bars, similar to my 6-Ingredient Butterscotch Marshmallow Bars, are the ultimate easy chocolate dessert when you crave something rich, sweet and full of texture. There’s no oven needed with this simple recipe. These no bake chocolate bars have quickly become a new favourite of mine. They’re the kind of treat you’ll want to keep stocked in the fridge.
Made with a simple chocolate and peanut butter base, these homemade rocky road bars are packed with crunchy nuts, crispy rice cereal, and soft mini marshmallows for the perfect mix of textures in every bite. My favourite are the buttery macadamia nuts; delicious!
This easy no bake dessert comes together in one pot with minimal prep and sets in the fridge, making it a simple make-ahead treat for holidays, parties, potlucks, or anytime a chocolate craving hits. Plus, they’re naturally gluten-free, so everyone can enjoy them.
Ingredient Tips for No Bake Rocky Road Bars
A few things to keep in mind:
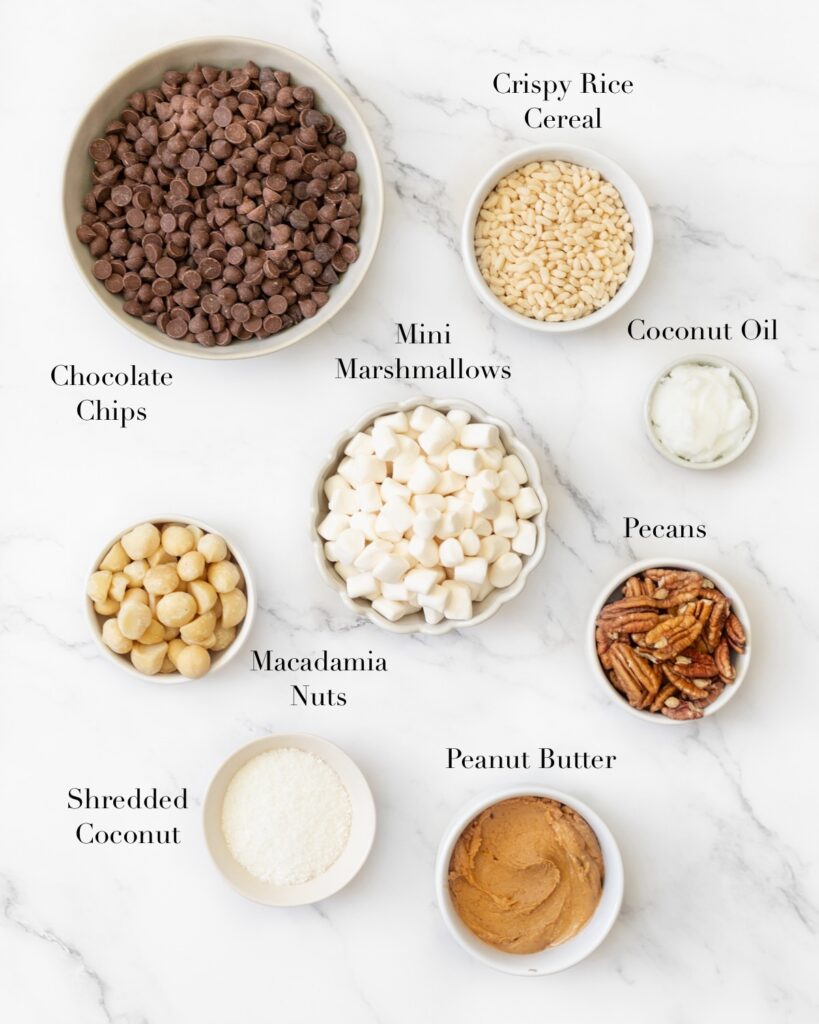
- Chocolate – I recommend using semi-sweet or dark, chopped melting chocolate wafers or chocolate chips for this recipe. You can use whatever type/brand you prefer. I like to use sugar-free chocolate chips to keep them lower in sugar.
- Peanut butter – The peanut butter adds to the flavour and texture of the rocky road bars. I recommend smooth, natural peanut butter for this recipe. However, if what you have is a little more processed (like Jiff), that would work too. You could even use crunchy peanut butter if you like a little more crunch!
- Nuts – I used a mix of chopped pecans and macadamia nuts for these bars. I love the flavour of these two types of nuts, especially the buttery macadamia nuts; yum. Chopped walnuts would also be delicious!
- Mini marshmallows – You can’t have rocky road bars without mini marshmallows! I suggest you pop them in the freezer for about 30 minutes beforehand. This helps them firm up so that when you add them to the chocolate mixture, they wont melt.
- Crispy rice cereal – The crispy rice cereal adds yet another element of crunch to these bars. They are the perfect addition of texture for these rocky road candy bars.
- Coconut – I use unsweetened desiccated coconut, but shredded coconut works as well. It’s just slightly more coarse in texture.
How to Make Rocky Road Dessert Bars
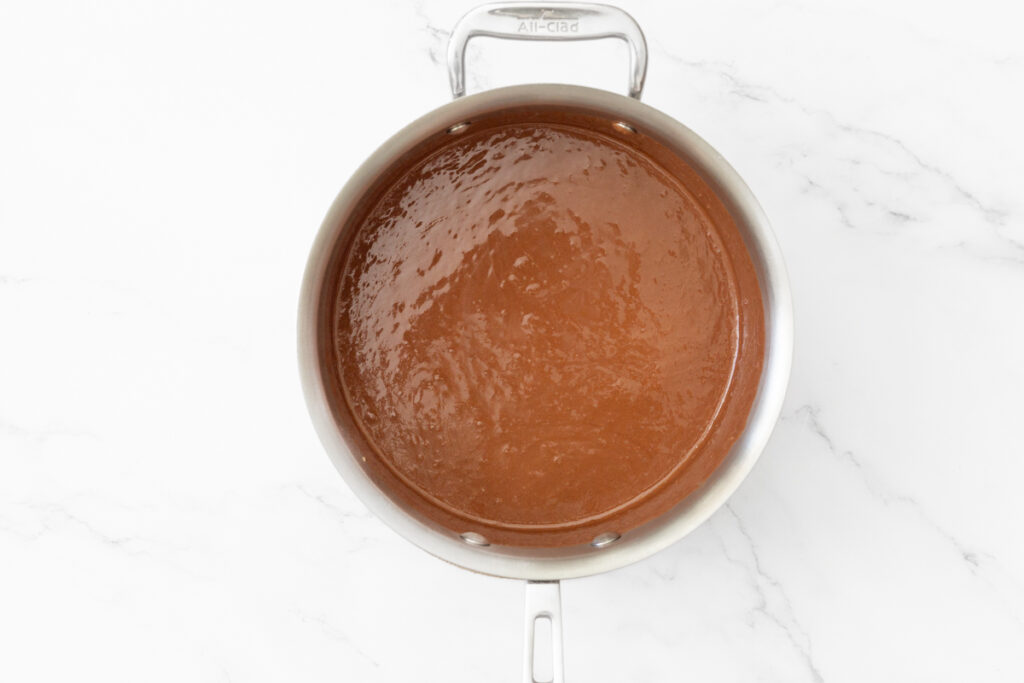
Step 1: Melt the chocolate, peanut butter and coconut oil.
Prepare an 8″x8″ baking dish with parchment paper and set aside. Then, in a small saucepan melt the chocolate, peanut butter and coconut oil over low-medium heat until completely melted and incorporated.
Step 2: Add the nuts.
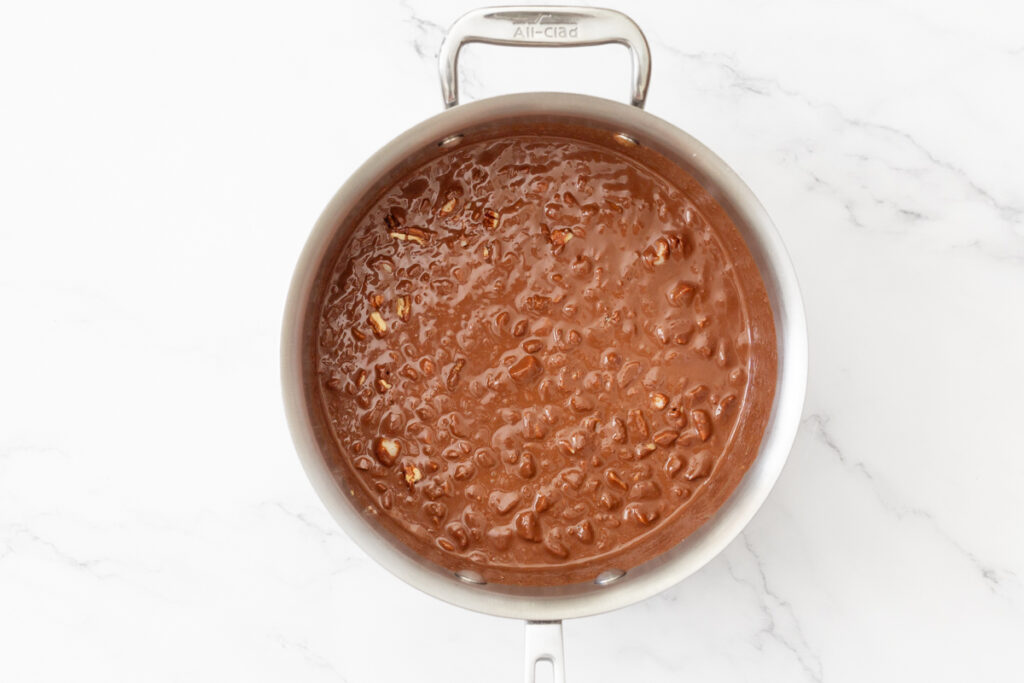
To the same saucepan, add the chopped pecans and macadamia nuts and stir to coat them.
Step 3: Add the rest of the dry ingredients.
Again, to the same saucepan, add the crispy rice cereal, desiccated coconut and frozen marshmallows. Stir to coat them as well.

Step 4: Transfer the rocky road mixture to the pan.
Transfer the rocky road bars mixture to the prepared baking dish and press down with a spatula or piece of parchment paper until it fills in all of the corners and is slightly compressed.
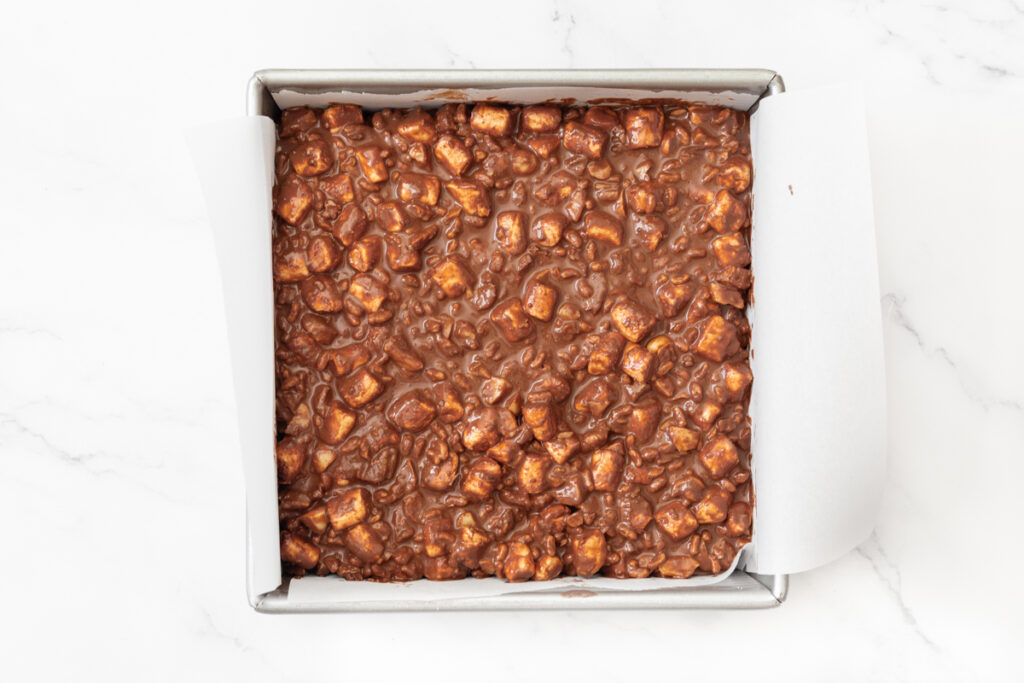
Step 5: Chill the mixture.
Transfer the pan to the fridge for at least 1 hour or overnight to chill and firm up. Once the chilling time is up, remove the bar mixture from the pan by pulling up on the parchment paper and set it on a cutting board. Cut into your desired size and amount of rocky road bars and serve immediately! Store leftovers in an air tight container in the fridge for later.
FAQ
I love macadamia nuts and pecans, but walnuts or peanuts would work as well!
Yes, but they won’t turn out quite the same as these ones. If you want to make them nut free, try sunflower butter instead of peanut butter. For the add-ins, you can use sunflower seeds and pumpkin seeds instead of nuts or just add more crispy rice cereal and marshmallows.
Store the cut bars in an airtight container in the fridge. They will last for days! If you want to freeze them, they’ll last even longer, up to 3 months.
Yes! They’re actually better after being chilled and can be stored in the fridge for days. They can safely be made 2-3 days in advance of when you are planning on serving them.
Yes. You can freeze them in an airtight container for up to 3 months.
The chocolate mixture was likely too warm or marshmallows weren’t frozen enough. It’s best to allow the chocolate mixture to cool slightly and the marshmallows to firm up in the freezer prior to mixing them in.
Tips for Making The Best Rocky Road Bars
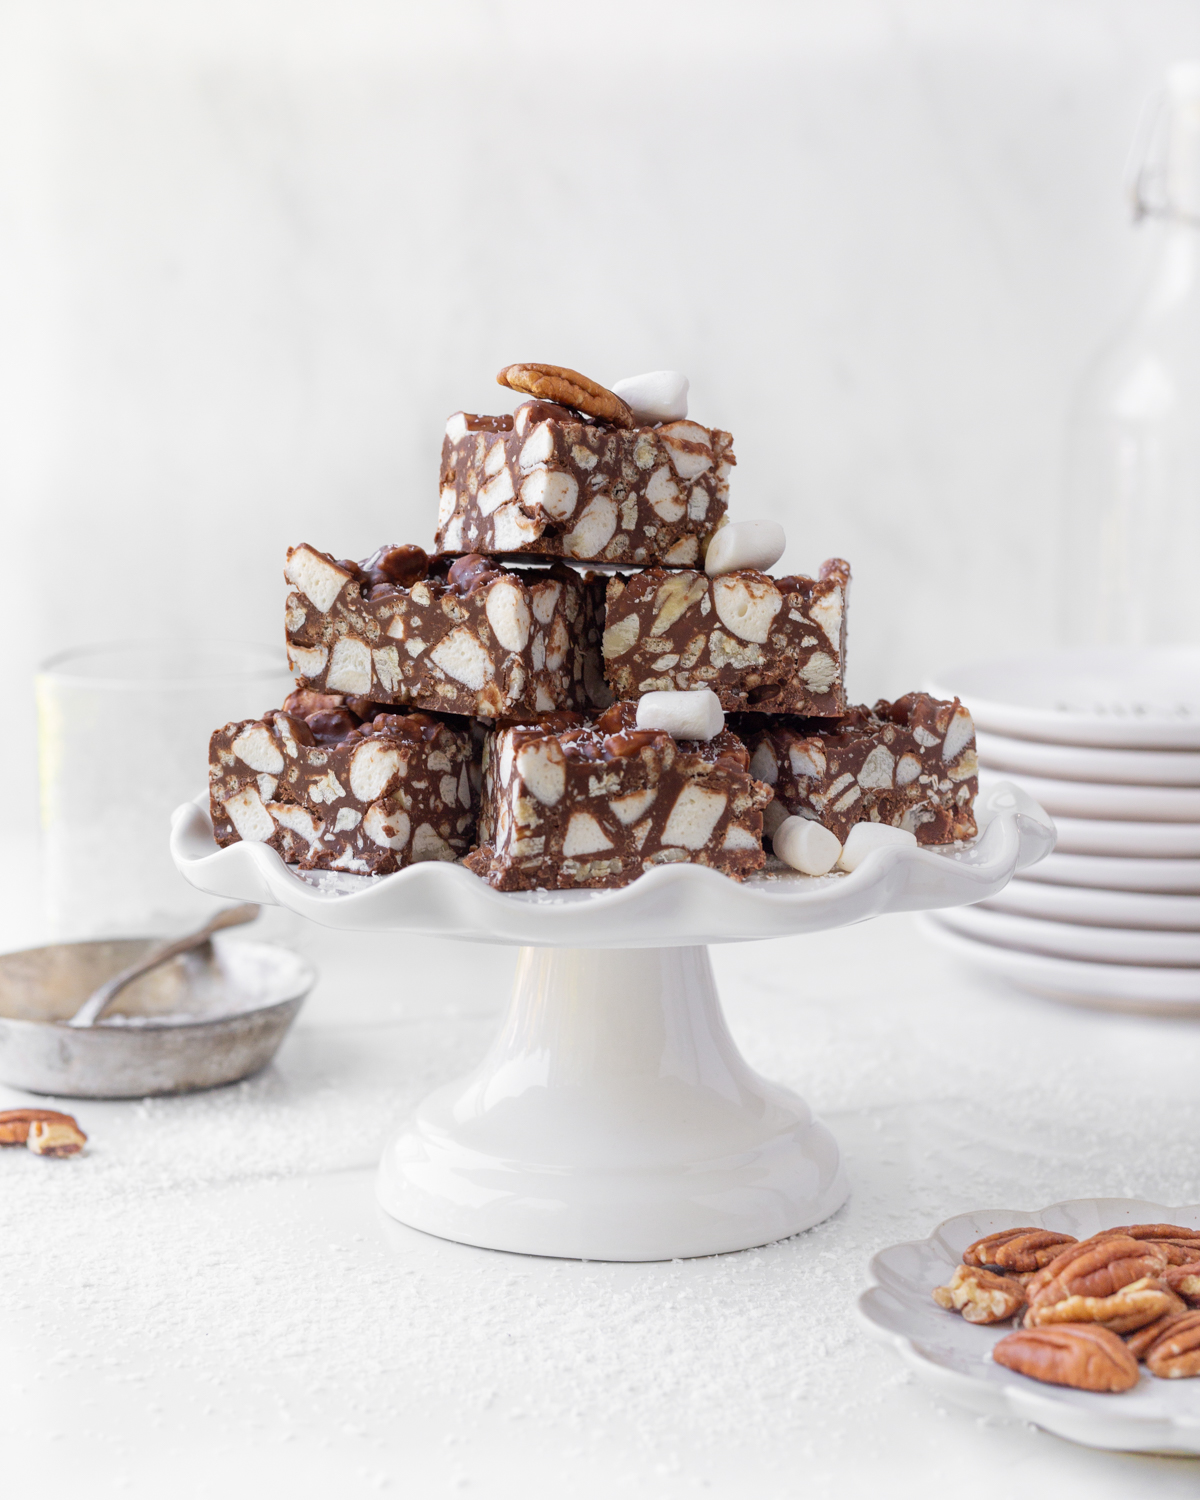
- Freeze the marshmallows – this is a key step in the process! It ensures that the marshmallows wont melt when you stir them into the melted chocolate. Ideally, the chocolate mixture cools for a few minutes and the marshmallows are frozen. This way they are sure to hold their shape once they’re mixed it.
- Use parchment paper – this is a recipe where parchment paper is non-negotiable! Not only does it prevent the chocolate bar mixture from sticking to the pan, but it provides an easy way to release the mixture from the pan. Once the rocky road mix has firmed up in the fridge, you can simply pull up on the edges of the parchment paper to release the whole “slab” from the pan. This makes cutting into bars a seamless job!
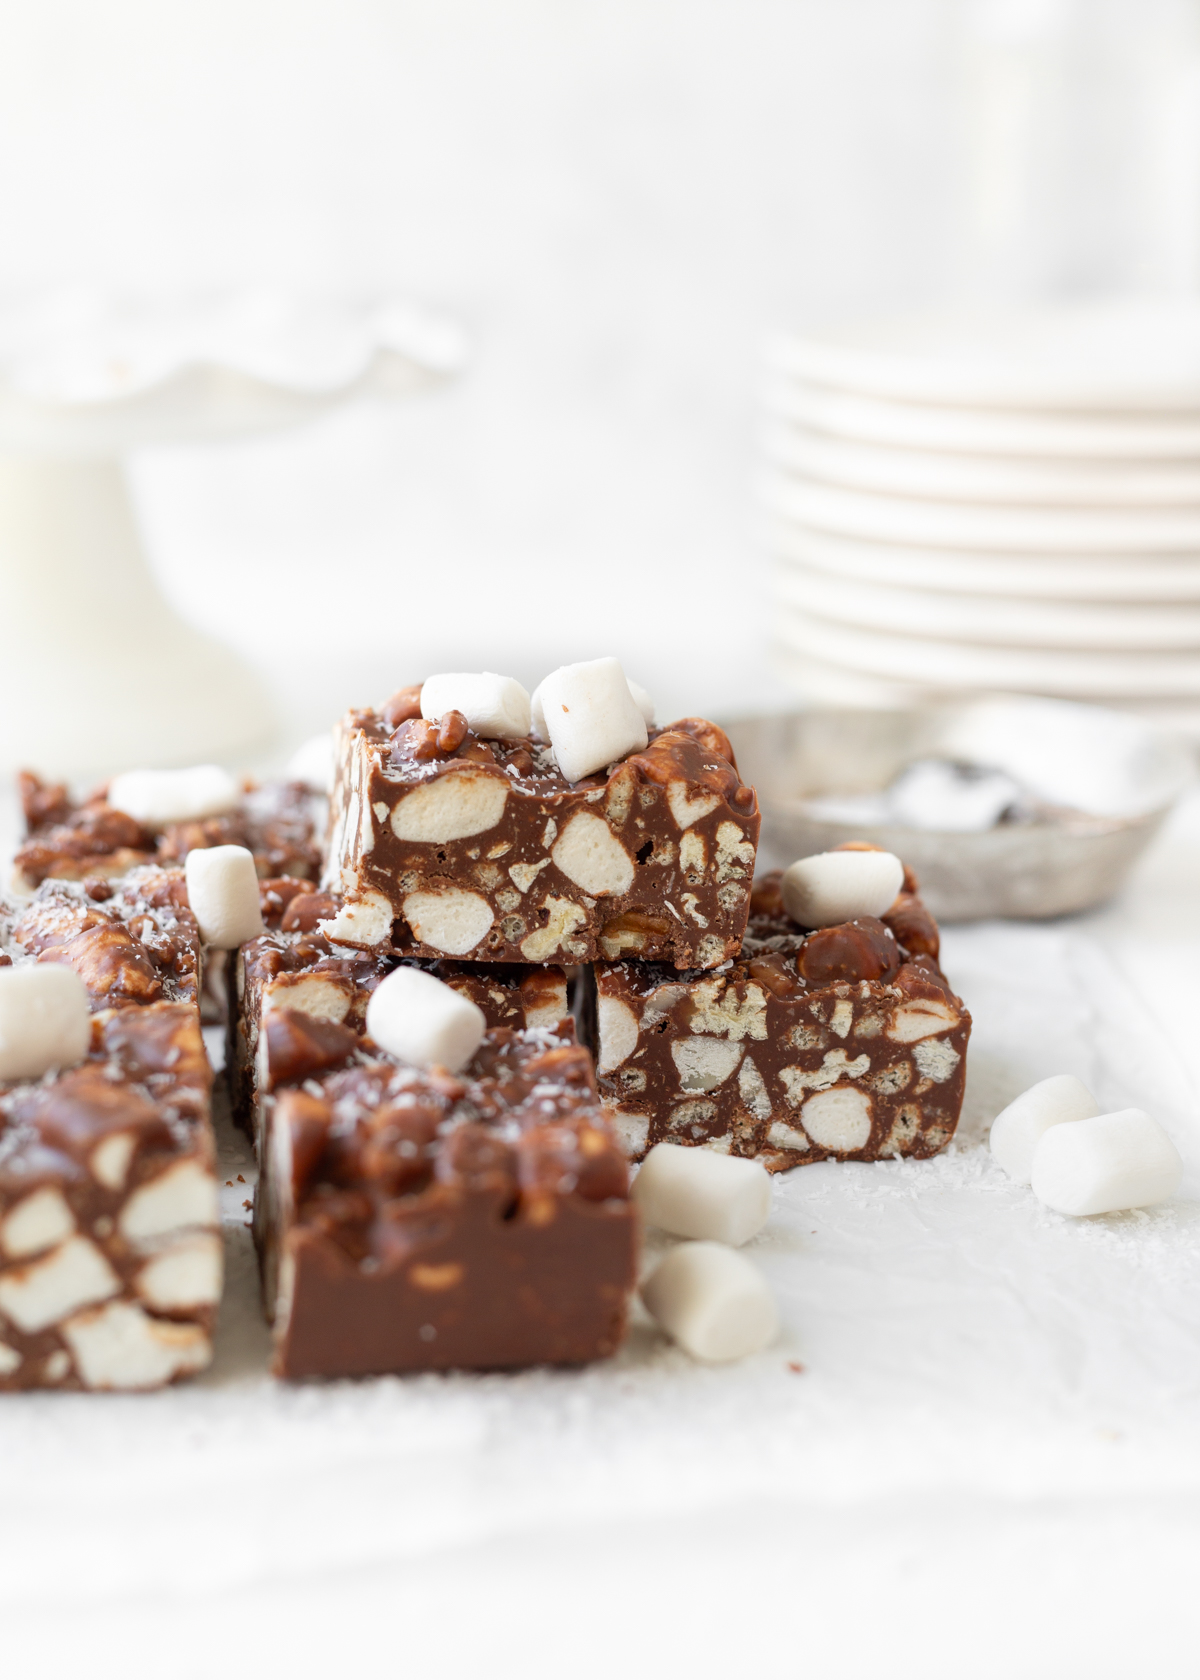
- Chill completely before cutting – Chill the rocky road bars until they are firm all the way through before cutting into squares. It will make cutting easy and you’ll also have nice clean lines. It also helps to use a good, sharp knife for this part.
No Bake Rocky Road Bars
Equipment
- 1 Medium-sized Saucepan
- 1 8" x 8" Square Pan
Ingredients
- 2 cups semi-sweet or dark chocolate chopped
- 1/2 cup smooth natural peanut butter
- 2 tbsp coconut oil
- 1/8 tsp sea salt
- 3/4 cup pecans chopped
- 1/2 cup macadamia nuts chopped
- 2 cups mini marshmallows frozen
- 3/4 cup crispy rice cereal
- 1/4 cup desiccated coconut
Instructions
- Line an 8"x8" pan with parchment paper and set aside.
- In a medium-sized pot, melt the chocolate, peanut butter and coconut oil over low-medium heat until smooth. Stir in a pinch of salt.
- Add the chopped pecans and macadamia nuts to the pot and stir to coat them.
- Pour in the crispy rice cereal, desiccated coconut and frozen marshmallows and fold them in until everything is completely covered in chocolate.
- Spread the rocky road mixture into the prepared pan and flatten it with a spatula making sure that all of the corners are filled and the top is level.
- Cover the pan and transfer it to the fridge for 1 hour to set up.
- Remove the pan from the fridge and cut into 12 squares. Enjoy!
Notes
- Chocolate – I recommend using semi-sweet or dark, chopped melting chocolate wafers or chocolate chips for this recipe. You can use whatever type/brand you prefer. I like to use sugar-free chocolate chips to keep them lower in sugar.
- Peanut butter – The peanut butter adds to the flavour and texture of the rocky road bars. I recommend smooth, natural peanut butter for this recipe. However, if what you have is a little more processed (like Jiff), that would work too. You could even use crunchy peanut butter if you like a little more crunch!
- Nuts – I used a mix of chopped pecans and macadamia nuts for these bars. I love the flavour of these two types of nuts, especially the buttery macadamia nuts; yum. Chopped walnuts would also be delicious!
- Mini marshmallows – You can’t have rocky road bars without mini marshmallows! I suggest you pop them in the freezer for about 30 minutes beforehand. This helps them firm up so that when you add them to the chocolate mixture, they wont melt.
- Crispy rice cereal – The crispy rice cereal adds yet another element of crunch to these bars. They are the perfect addition of texture for these rocky road candy bars.
- Coconut – I use unsweetened desiccated coconut, but shredded coconut works as well. It’s just slightly more coarse in texture.